
Looking for a delicious appetizer to wow your guests? I’ve got just the thing!
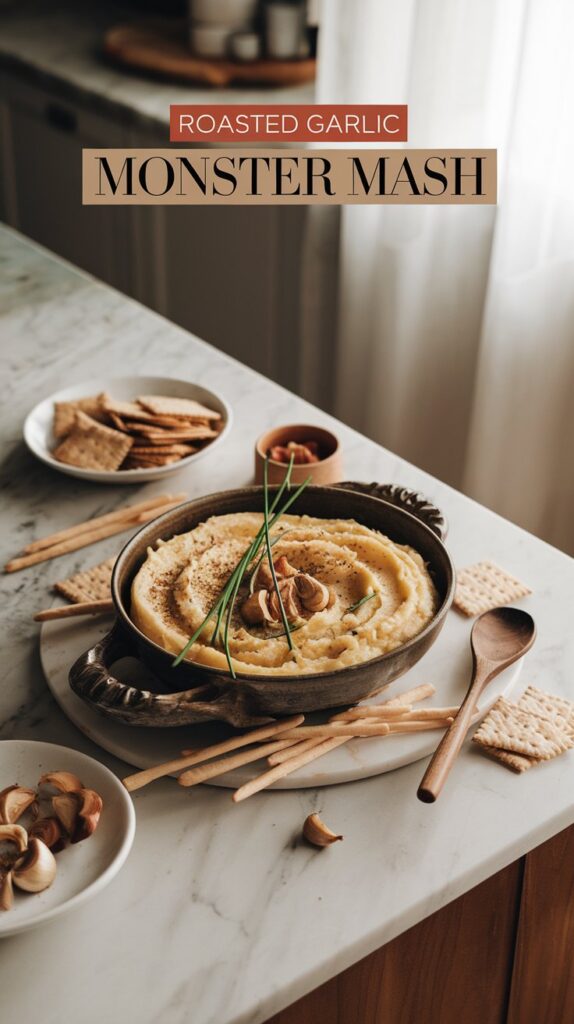
My Roasted Garlic Monster Mash is not only easy to make but also incredibly tasty.
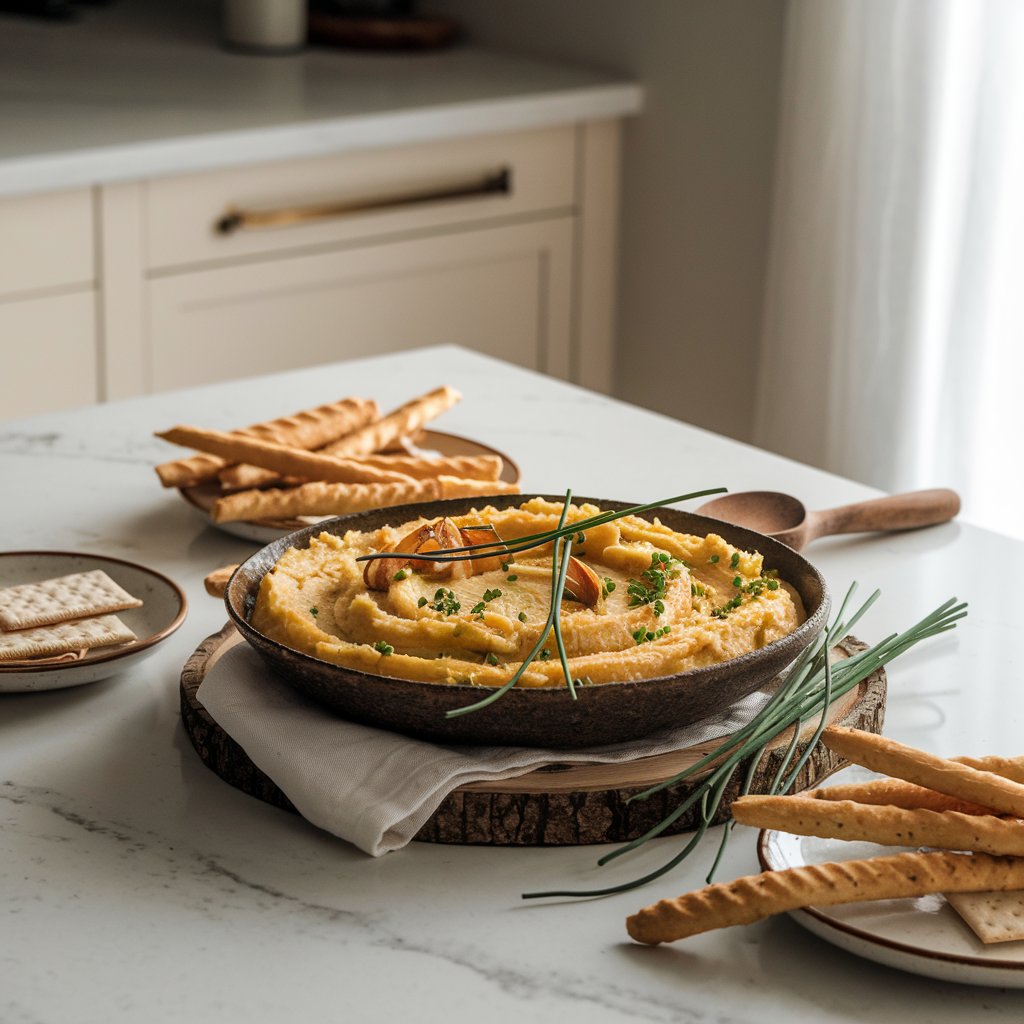
This dish blends the rich flavors of roasted garlic with creamy mashed potatoes, making the perfect starter for any occasion. 🧄🥔
This recipe was a hit at my last party, and I couldn’t believe how fast it disappeared!
It’s super simple with just a few ingredients, and the roasting process brings out a sweetness in the garlic that’s simply irresistible.
Guests will love this flavorful twist on a classic dish, and I promise it’ll become a go-to favorite!
I can’t wait for you to try it and see how much everyone enjoys it.
Let me share with you the straightforward steps to create this mouthwatering appetizer.
You’ll need only a few pieces of equipment to get started, and soon, your kitchen will be filled with the aroma of roasted garlic goodness.
Let’s dive in! 🍽️

Roasted Garlic Monster Mash Appetizer Recipe
Equipment
- Oven: To roast the garlic to perfection.
- Mixing Bowl: For blending all those delicious ingredients together.
- Baking Sheet: Essential for cooking those garlic cloves just right.
- Fork and Spoon: Useful for mashing and mixing the ingredients.
- Aluminum Foil: Helps in roasting the garlic without losing its aroma.
- Sharp Knife: For chopping and handling ingredients with ease.
Ingredients
- 2 heads of garlic: Roasted to bring out sweet and nutty flavors.
- 1 cup of mashed potatoes: Smooth and creamy as the base.
- ½ cup sour cream: For a tangy hit that balances the flavors.
- ¼ cup chives: Chopped up for a fresh herbal taste.
- Salt and Pepper: To season according to taste.
- 2 tablespoons of butter: Melted and mixed in for richness.
- 1 tablespoon olive oil: Adds moisture and enhances taste.
Instructions
- Roast the Garlic: Preheat the oven to 400°F.
- Cut the tops off garlic bulbs, drizzle with olive oil, wrap in foil, and roast for 30 minutes until soft.
- Prepare the Mash: In a mixing bowl, combine mashed potatoes, sour cream, and melted butter. Mix until smooth.
- Mix in the Garlic: Squeeze roasted garlic out of skins and mash with a fork. Add to the potato mix.
- Season and Serve: Sprinkle with chives, salt, and pepper. Serve warm with crackers or bread.
Notes
Texture Tip: Use a potato masher for a chunkier texture.
Serving Suggestions: Serve with crunchy breadsticks or crackers for dipping.
Storage: Store leftovers in an airtight container in the fridge for up to two days.
Spice It Up: Add a pinch of red chili flakes for some heat. 🌶️
This dish is always a crowd-pleaser and full of flavor! 💥 Give it a try for your next event and wow your guests. ✨
Presentation & Serving
When I serve my Roasted Garlic Monster Mash, I love to make it a feast for the eyes as well as the taste buds.
I use a wide, shallow dish to spread it out nicely. It makes the dish look more inviting! 🍽️
I often sprinkle a little bit of fresh parsley on top to give it a pop of color. Sometimes, I’ll add a drizzle of olive oil for a bit of shine and extra flavor.
For a fun touch, try arranging some colorful veggie sticks around the dish. Carrot sticks or bell pepper slices work great!
You can also add crusty bread slices on the side for dipping. 🥖
Equipment
- Wide, shallow serving dish
- Small spoon for drizzling oil
- Sharp knife for chopping garnish
Ingredients for Garnish
- Fresh parsley
- Olive oil
- Colorful vegetables (carrots, bell peppers)
- Crusty bread
Serving Instructions
- Spoon the Monster Mash into the serving dish.
- Sprinkle parsley over the top.
- Drizzle with olive oil.
- Arrange the veggie sticks and bread around the mash for a complete, tasty look.
I always find that making the dish look as tasty as it tastes makes it even more of a hit! Enjoy the fun and flavor! 🎉
Storage Tips
I love keeping my Roasted Garlic Monster Mash fresh for as long as possible! Here are some quick and helpful tips to store it well:
- Refrigerate It: Place any leftovers in an airtight container and store it in the fridge. It should last for about 3-4 days. 🥶
- Freeze for Later: Want to enjoy it later? You bet! Pour the mash into a freezer-safe bag or container. It keeps well in the freezer for up to 2 months. 📅
- Label Everything: Don’t forget to label the container with the date! This helps me remember when it’s still good to eat. ✍️
- Reheat Gently: When you’re ready to eat again, reheat in a pan over low heat. This helps retain its yummy flavors! 🔥
- No Microwaving: I find that microwaving can make it mushy. Stick to stovetop re-heating for the best texture! 🍲
Enjoy your mash whenever you want with these storage tips! 🎉
Recipe Variation
I’m so excited to share some variations for this Roasted Garlic Monster Mash Appetizer! Let’s add a personal twist to the classic recipe. 🎉
Equipment:
- Mixing bowl
- Whisk
- Garlic press (optional)
Ingredients:
- Roasted red peppers: Add for a pop of color and sweetness.
- Parmesan cheese: Sprinkle some for a cheesy kick.
- Chili flakes: Spice it up with a hint of heat! 🔥
Instructions:
- Mix in roasted red peppers for a vibrant look.
- Sprinkle parmesan cheese on top.
- Spice up with a few chili flakes.
Another fun twist is to make it vegan! 🌱
Ingredients for Vegan Option:
- Nutritional yeast: Use instead of cheese for that cheesy flavor.
- Coconut cream: Swap for sour cream for creaminess.
Instructions for Vegan Option:
- Replace parmesan cheese with nutritional yeast.
- Substitute sour cream with coconut cream.
Let’s get creative and make this appetizer our own! 😋
Pairing
I love finding perfect pairings for my dishes. Roasted Garlic Monster Mash is a flavor bomb, and picking the right bites and sips to go with it is key. 🌟
Drinks are crucial for a good meal. A chilled white wine like Sauvignon Blanc is a great choice. It has a crisp taste that matches well with the garlic.
For non-alcoholic options, try sparkling water with a twist of lemon. It’s refreshing!
Crackers and Veggies go well with the mash. I like using whole grain crackers for a bit of crunch.
For veggies, fresh celery sticks or carrot sticks offer a nice contrast.
If you’re hosting a party, consider adding a cheese platter. Mild cheeses like brie or camembert don’t overpower the garlic taste, making for a delightful combination.
Protein can also be served alongside. Grilled chicken strips or shrimp skewers work wonderfully. They make the snack feel more like a meal and add extra taste.
These pairings will have your guests asking for more! 🍴
Tips & Tricks
Cooking should be fun, right? 😊 Here are some awesome tips to make your Roasted Garlic Monster Mash a monster hit!
Equipment
- Baking sheet: This is perfect for roasting the garlic.
- Blender or food processor: To create the creamy mash.
- Mixing bowl: For combining ingredients easily.
Ingredients
- Roasted garlic: Make sure it’s soft and golden.
- Potatoes: Choose a type that’s great for mashing like Yukon Golds.
- Herbs: Fresh ones can give a burst of flavor.
Instructions
- Roasting garlic: Wrap it in foil with a drizzle of oil. Roast until soft for the best flavor.
- Mashing potatoes: Boil them until fork-tender. Don’t overcook them to keep the texture just right.
When blending, add a little olive oil at a time. This helps control the creaminess, making it just how you like it! 🌿
For a creative twist, add a dash of nutmeg or paprika. It adds a special flavor kick that everyone will love!
Remember to taste as you go! Season with salt and pepper gradually to avoid overdoing it.👩🍳
By keeping these tips in mind, you’ll end up with a flavorful dish to impress your guests. Happy cooking! 🎉
Frequently Asked Questions
I’m super excited to share all about the Roasted Garlic Monster Mash Appetizer
How can I simply and quickly prepare a roasted garlic monster mash appetizer?
I like to keep it simple! Here’s what I do:
- Equipment: Oven, foil, small knife, mixing bowl
- Ingredients: Garlic bulbs, olive oil, salt, pepper, cream cheese
- Instructions:
- Preheat the oven to 400°F.
- Cut the garlic tops and drizzle with oil.
- Wrap in foil and roast for 40 minutes.
- Once cooled, squeeze out the garlic and mash with cream cheese, salt, and pepper.
What are some creative ways to serve a roasted garlic appetizer?
Serving this appetizer is fun! Try these ideas:
- Crusty Bread: Spread it on slices of warm baguette.
- Veggie Sticks: Dip with carrots and celery.
- Stuffed Mushrooms: Use it as a filling.
These options make it even more appetizing! 😍
What are the best recipes featuring roasted garlic for party appetizers?
Roasted garlic shines in these recipes:
- Garlic Hummus: Blend with chickpeas.
- Garlic Bruschetta: Combine with tomatoes and basil.
- Garlic Deviled Eggs: Mix into the yolk filling.
These will surely wow your guests! 🎉
What’s the shelf life of roasted garlic when stored in the refrigerator?
Roasted garlic can be stored safely:
- Refrigeration: Keep in an airtight container.
- Shelf Life: Lasts up to one week.
Always check for freshness before using. 🧄
Are there health benefits to eating roasted garlic regularly?
I love that roasted garlic might come with benefits:
- Immune Support: May boost your system.
- Heart Health: Could improve cardiovascular health.
Enjoying it in moderation can be tasty and helpful! 🌟
How can I safely infuse olive oil with roasted garlic to avoid botulism?
Safety is key with infused oils:
- Sterilize Jars: Ensure jars are completely clean.
- Refrigerate: Store in the fridge immediately.
- Use Quickly: Consume within a week.
Following these tips can help keep it safe. 🛡️
Recent Posts
15 Non-Alcoholic Halloween Punch Recipes: Spooktacular Sips for Your Party!
Halloween is coming, and I'm all about making the party extra fun and festive! 🎃 Nothing sets the mood better than a delicious punch that everyone can enjoy. These non-alcoholic options are...
15 Easy Halloween Bread Recipes You’ll Want to Bake Right Now!
Halloween is one of my favorite times to bake! 🎃 It’s the perfect excuse to try some fun and spooky bread recipes. Each loaf adds a touch of festivity to your table and fills the house...